

Lessons
MongoDB Introduction
MongoDB Installation & Setup
MongoDB Create Database & Collections
How to Install and Configure MongoDB in Ubuntu?
Steps to Install and Configure MongoDB in Ubuntu
Step 1:
First we need to update and upgrade our system repository to install
MongoDB. Type the following command in our terminal and then press
Enter.
sudo apt update && sudo apt upgrade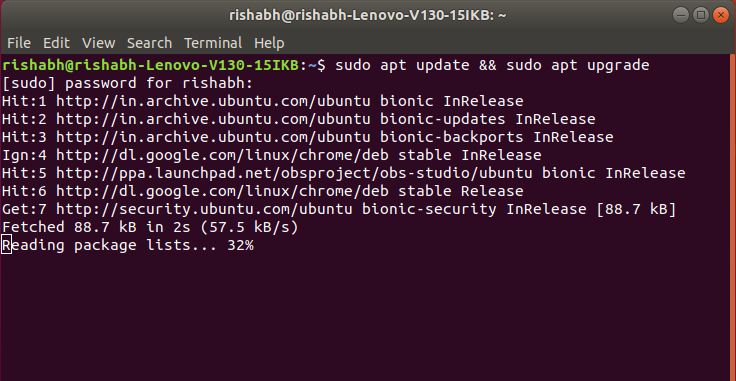
Step 2: Now, install the MongoDB package using ?apt?. Type the following command and press Enter.
sudo apt install -y mongodb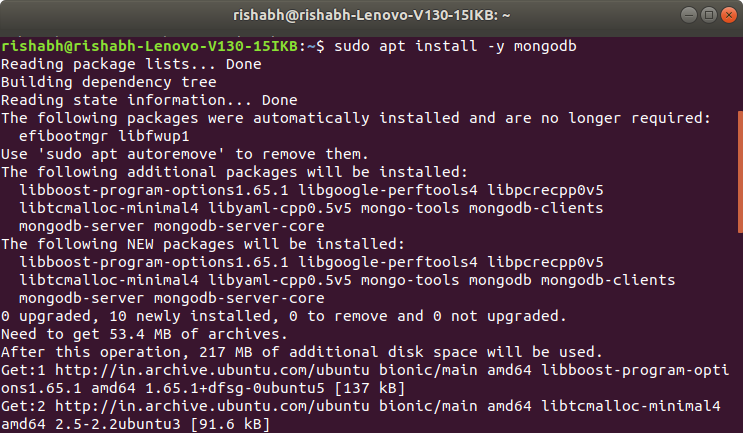
Step 3: Check the service status for MongoDB with the help of following command:
sudo systemctl status mongodb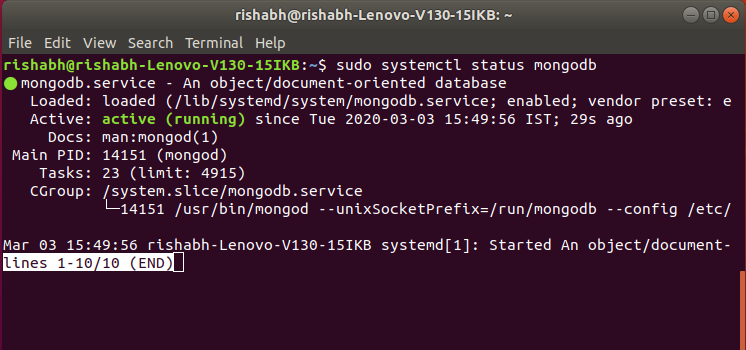
systemctl verifies that MongoDB server is up and running.
Step 4: Now check if the installation process is done correctly and everything is working fine. Go through the following command:
mongo --eval 'db.runCommand({ connectionStatus: 1 })'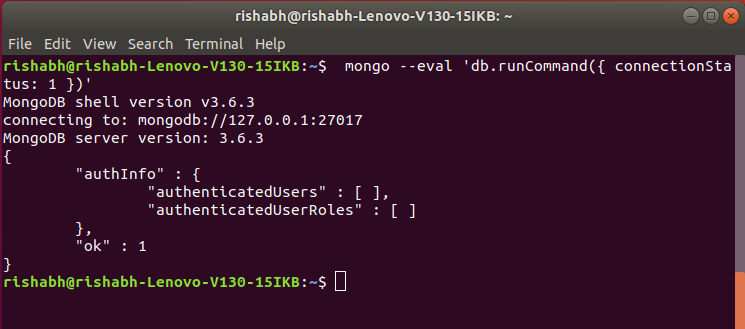
the value ?1? in ok field indicates that the server is working properly with no errors.
Step 5:
MongoDB services can be started and stopped with the use of following
commands: To stop running the MongoDB service, use command :
sudo systemctl stop mongodb MongoDB service has been stopped and can be checked by using the status command:
sudo systemctl status mongodb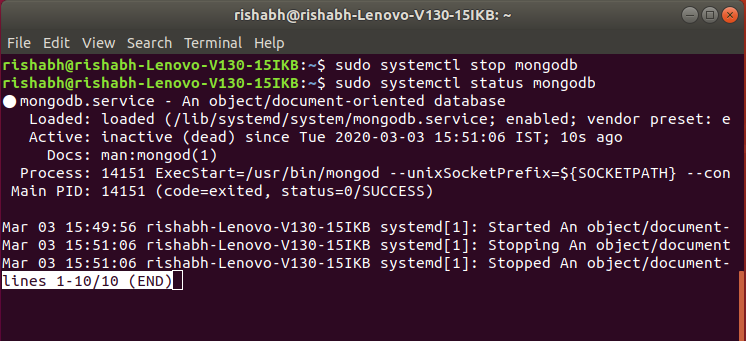
As it can be seen that the service has stopped, to start the service we can use :
sudo systemctl start mongodb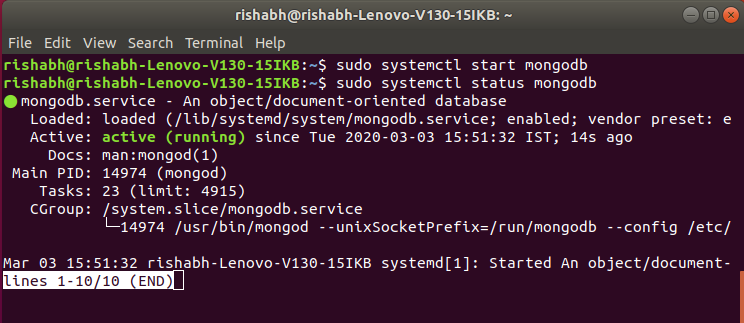
Step 6: Accessing the MongoDB Shell
MongoDB provides a command-line interface called the MongoDB shell, which allows us to interact with the database.
To access the MongoDB shell, simply type the following command in your terminal:
mongo
We are now connected to the MongoDB server, and you can start executing commands to create databases, collections, and documents.